Guide to taking screenshots with Microsoft Copilot Studio

Learn how you can have your AI agents capture screenshots in Copilot Studio with the PagePixels Screenshots integration.

Introduction

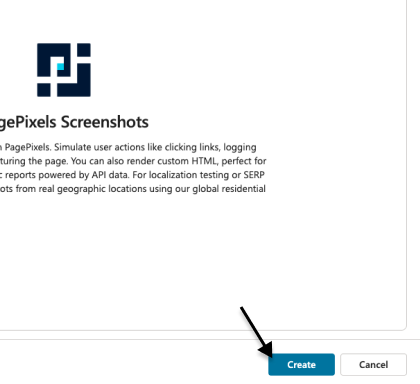
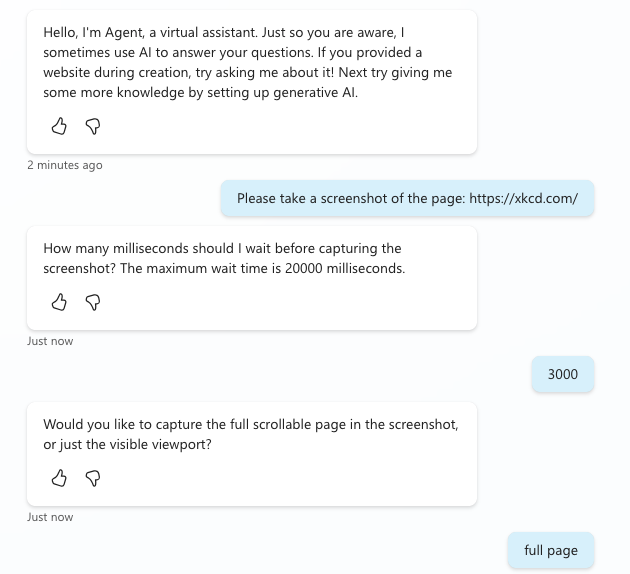
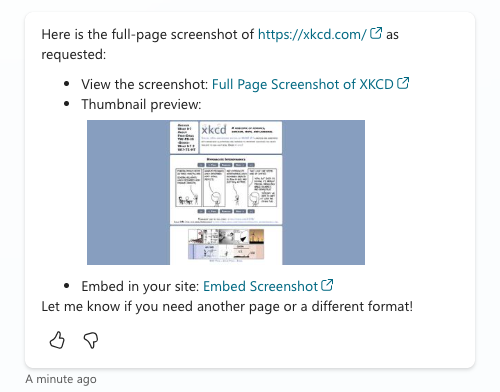
With the PagePixels Screenshots tool in Copilot Studio, you can give your agents the power to take screenshots of web pages.

PagePixels is free to start and the Copilot Studio integration is available to all screenshot plans.

This guide goes over what abilities the PagePixels tool can give your Copilot agents and provides step-by-step instructions for how to create a website screenshot agent.

PagePixels Screenshots Actions

Below is a list of actions your Copilot agents can use with the PagePixels Screenshots connector tool:

Actions

Take a Screenshot of a Web Page

Creates an instant screenshot of a web page from a URL.

See Microsoft docs for this action

Take a Screenshot of Custom HTML

Converts any custom HTML you provide into a screenshot. Useful for capturing screenshots of emails and data from third-party APIs.

See Microsoft docs for this action

Take a Real Geolocation Screenshot of a Web Page

Captures a screenshot from real locations around the world. Choose from hundreds of countries, major cities, and every US state.

See Microsoft docs for this action

Take a Screenshot of a web page and analyze the image with AI

Captures a web page screenshot and runs an AI visual analysis based on your prompt. Useful for extracting data, generating summaries, or querying the website's content.

See Microsoft docs for this action

How to take a website screenshot in Microsoft Copilot Studio

To create a Copilot agent that takes screenshots of a web page using PagePixels:

1

Log in to your Copilot Studio account.

2

Create a new agent

Click Agents in the left side-bar.

Click the + Create blank agent button (top-right).

3

Add the PagePixels Screenshots tool

Select the Tools tab.

Click the + Add a tool button.

Search for pagepixels and press Enter.

Select the Take a Screenshot of a web page action.

Click the Add and configure button.

Note: If the Add and configure button is grayed out, you need to add a connection to your PagePixels account.

To connect, click the down caret (right of "Not connected") and select Create new connection .

Click Create.

Log in to your PagePixels account or click the Sign Up link to create a free account.

Once you've successfully established a connection, you can click on the Add and configure button.

4

Configure your screenshot tool

By default, your agent can use the Page URL parameter to take a screenshot.

To allow your agent to use other screenshot options (e.g. Wait, Full Page), scroll to the Inputs section, and click the + Add input button.

Search and select the screenshot option you'd like to add.

Note: To add more inputs, click the Add input button again.

Once you're done adding the screenshot inputs you need, click the Save button.

5

Configure your agent's content moderation setting

Click the Settings button (top-right).

Scroll to the Moderation section, and change your agent's "Content moderation level" to Moderate (center).

Click the Save button.

Wait for the save process to complete. Click the X in the top-right to exit your agent's settings.

Note: This change permits your agent to return your screenshot image URL and other data from PagePixels.

Otherwise, your agent will likely return a "The content was filtered due to Responsible AI restrictions" error message.

6

Take a screenshot

In the Test your agent chat dialog, prompt your agent to take a screenshot of a webpage URL.

Respond to agent questions. (These questions are based on the screenshot options added during Step 4.)

The agent will use your responses to take a screenshot of the web page.

See the PagePixels Screenshots Microsoft Learn page for more information about our integration.

Frequently Asked Questions

My Copilot agent is returning an error message: The content was filtered due to Responsible AI restrictions. Error Code: ContentFiltered Conversation Id

To resolve this error, change your agent's Content Moderation Level setting to Moderate as demonstrated below:

Support

Questions? Contact us anytime by email:

support-tickets@pagepixels.com

Or send us a message through our Support page.