Guide to Custom Webhooks in PagePixels

Learn how to schedule and post screenshots to a custom webhook address with PagePixels.

Introduction

PagePixels is a screenshot automation service for capturing online content on a recurring schedule.

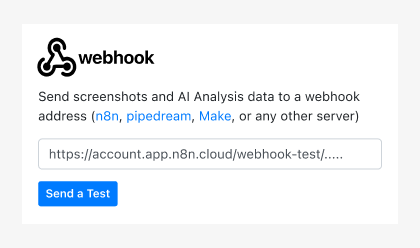
With PagePixels Custom Webhook integration, you can automate the process of taking screenshots and sending the images and other data to a custom webhook address.

PagePixels is free to start and the Custom Webhook integration is built-in and available to all plans.

This guide includes instructions for how to take and send scheduled screenshots to a webhook address in PagePixels.

How to automatically take and send screenshots to a webhook address

To take daily screenshots of a web page and post the screenshot data to a custom webhook:

1

Create a screenshot

Log in to your PagePixels account, and click the "+Create Screenshot" button.

2

Set your schedule

By default, recurring screenshots are taken every 5 minutes.

For a daily screenshot, use the input and dropdown fields to change the default values to: 1 Days

3

Add URL

Copy and paste the web page URL you want to screenshot into the Website URL to Capture field.

For example: https://c.xkcd.com/random/comic/

4

Add Custom Webhook address

Enter a valid webhook address into the webhook integration field (right-side, below Dropbox).

Note: Testing the webhook with the "Send a Test" button requires an existing screenshot.

5

Save Screenshot

Click the green Save Screenshot button (top-right).

🎉 Your screenshot automation is officially running, and it will automatically take and send screenshots and other data to your Webhook address on the schedule you set.

Support

Questions? Contact us anytime by email:

support-tickets@pagepixels.com

Or send us a message through our Support page.